PosterCutter Blog
Pumpkin Investigation Activities: 10 Hands-On October Science & Math Printables
A pumpkin can become much more than seasonal classroom decor. Use one real pumpkin to teach observation, measurement, estimation, sink-or-float, counting, plant science, descriptive writing, and data collection. These 10 low-prep ideas are designed for K–3 classrooms and can become a practical printable mini-unit without relying on Halloween.
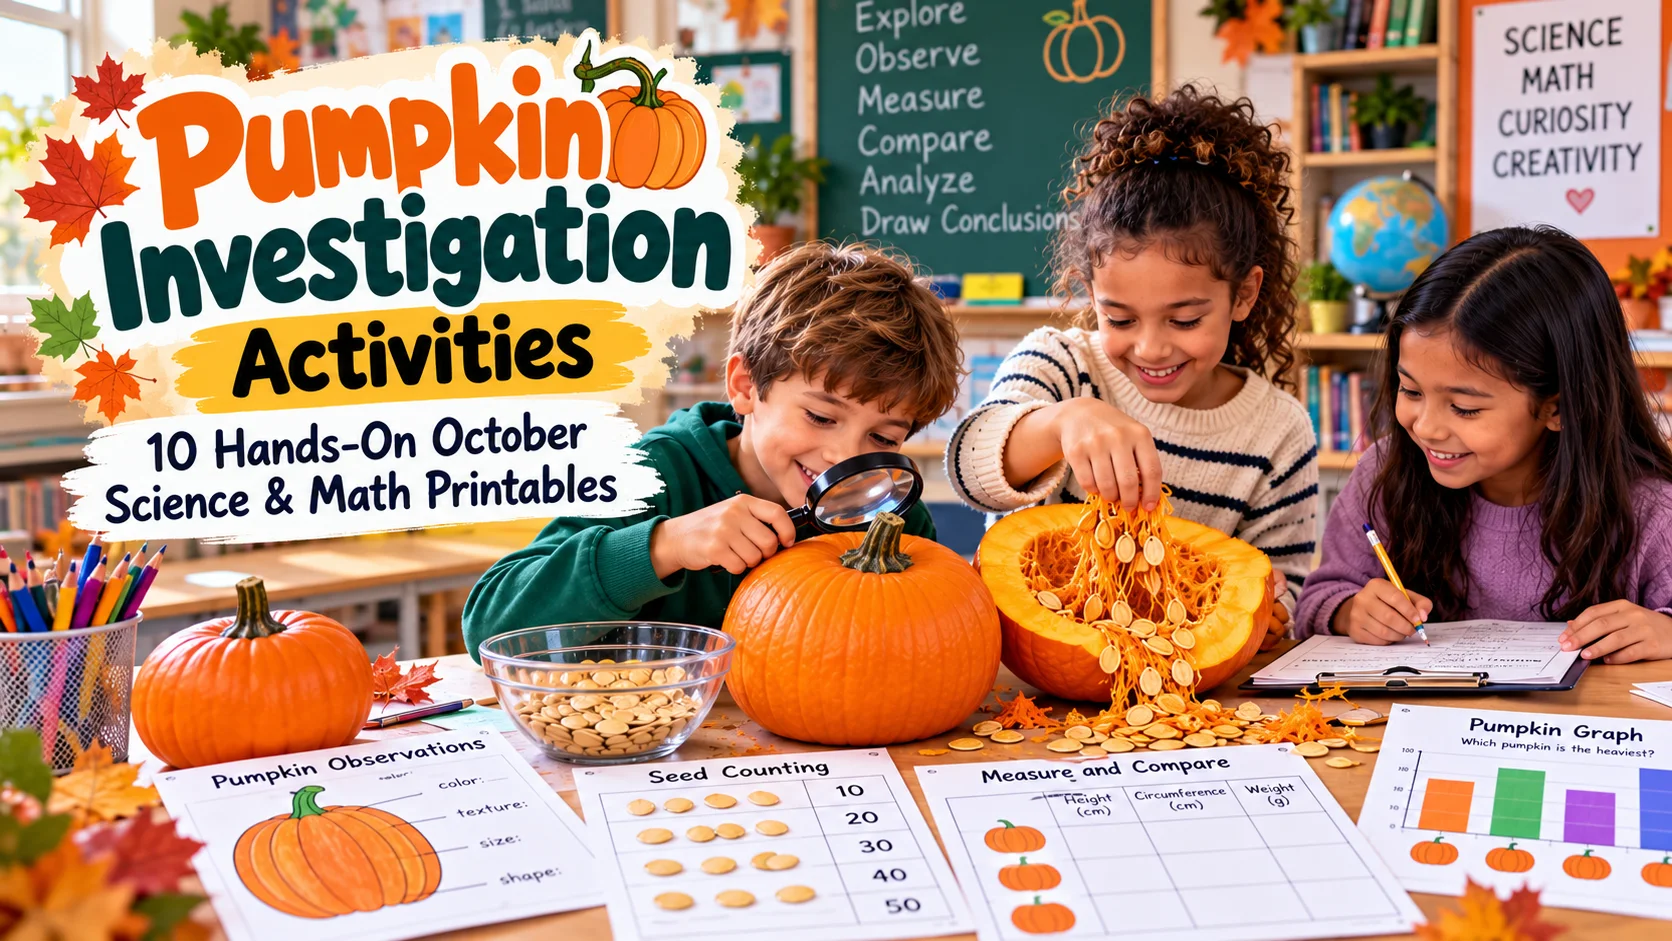
If you have one pumpkin and about 30 minutes, you already have the beginning of a surprisingly rich October lesson.
Pumpkins work especially well in elementary classrooms because students can observe, touch, measure, predict, count, compare, describe, and test the same object. Instead of handing out six unrelated fall worksheets, you can build several subjects around one shared investigation.
That approach is showing up in current October teacher resources too: fall vocabulary, hands-on seasonal learning, and pumpkin investigations are active classroom themes right now. The strongest versions go beyond coloring and ask students to collect real information.
Here are 10 pumpkin activities you can use separately or combine into a K–3 investigation booklet.
1. Begin With “I Notice, I Wonder, I Predict”
Before measuring anything, put the pumpkin where everyone can see it and give students three prompts: I notice…, I wonder…, and I predict….
Kindergarten students can draw their observations and dictate a sentence. Older students can record several details using precise vocabulary. Encourage observations that go beyond color: shape, texture, ridges, stem, size, marks on the skin, symmetry, and weight when lifted safely.
The important distinction is between observation and prediction. “The pumpkin has a brown stem” is something a student can observe. “There are 200 seeds inside” is a prediction that can later be tested.
Printable idea
Create a one-page sheet divided into three large boxes. Keep plenty of drawing space for younger students and add writing lines only where needed.
2. Estimate First, Measure Second
Measurement becomes more interesting when students commit to an estimate first. Ask students to predict height, circumference, weight, number of vertical ridges, and number of seeds. Then measure the real pumpkin and record the actual results beside each estimate.
Question My estimate Actual result
Difference Height_______________Circumference_______________Weight_______________Seeds_______________
For K–1, skip the numerical difference and simply ask whether the estimate was more or less than the actual result. Grades 2–3 can calculate the difference.
3. Measure Circumference With String
Circumference can be abstract when students only see it in a workbook. A pumpkin makes the idea physical. Give pairs a piece of string and ask them to cut or mark the length they think will fit exactly around the widest part of the pumpkin. Then test it.
Afterward, stretch the string beside a ruler or measuring tape. Discuss which estimate was closest, which was too long or short, and what helped students make a better estimate.
4. Will the Pumpkin Sink or Float?
Before putting the pumpkin in water, make every student choose a prediction. Create a simple class graph with SINK and FLOAT. Students place a sticky note, name card, or tally under their prediction. Count each side before the test.
Then place the pumpkin carefully into a clear tub of water. Do not rush straight to the explanation. Ask students what they observe and what questions the result creates.
For older elementary students, introduce the idea that whether an object floats depends on more than whether it feels heavy. Keep the explanation appropriate to your grade.
Teacher tip: Put the water container on a towel or tray before students arrive. The science is more fun when the cleanup plan is already solved.
5. Turn Seed Counting Into Real Math
Opening the pumpkin gives you one of the best opportunities for mathematical reasoning. Instead of letting the class count one giant pile, ask how they could organize the job.
groups of 2;
groups of 5;
groups of 10;
equal cups for small groups;
or rows on a counting mat.
For K–1, focus on one-to-one counting, groups of ten, and comparing quantities. Grades 2–3 can use repeated addition, skip counting, arrays, or multiplication depending on what they have learned.
A printable seed-counting mat with ten boxes helps younger students organize seeds without losing track.
6. Make a Pumpkin Parts Diagram
Once the pumpkin is open, move from measurement to plant science. Students can identify and label age-appropriate parts such as stem, skin or rind, flesh, pulp, seeds, and the inside cavity.
Rather than giving students a fully labeled diagram immediately, let them examine the real pumpkin first. Then use the diagram to organize what they observed. For a literacy connection, ask students to complete a sentence for each part.
7. Teach the Pumpkin Life Cycle
Use cards or pictures for seed, sprout, vine, flower, small green pumpkin, mature pumpkin, and seeds again. Students put the stages in order and explain what changes from one stage to the next.
For younger students, use picture cards and oral retelling. Older students can write a short explanatory paragraph using transition words such as first, next, then, after that, and finally.
If you create a large life-cycle illustration or anchor chart, the PosterCutter Printable Poster Maker can divide your finished design into standard printer pages for a larger classroom display. The teaching content remains the important part; the tool handles the page-splitting step.
8. Build a Pumpkin Adjective Bank
Bring the investigation into writing. Ask students to describe the pumpkin using their senses where appropriate. Build a class word bank around categories such as looks, feels, size, and inside.
Looks: round, orange, striped, bumpy, shiny
Feels: smooth, rough, firm, slippery
Size: tiny, wide, heavy, tall
Inside: stringy, moist, soft, seedy
Challenge students to replace weak sentences. Instead of “The pumpkin is nice,” they might write: The wide orange pumpkin has rough ridges and a short, twisted stem.
For an independent literacy center later in the week, turn your own vocabulary into a puzzle using the PosterCutter Word Search Maker. Add a follow-up requirement so the puzzle supports the lesson rather than becoming filler.
9. Compare Two Pumpkins
If you can bring in two pumpkins with visibly different sizes or shapes, students can practice comparison using real data. Record height, circumference, weight, number of ridges, color, shape, and seed count if both are opened.
Then ask students to write mathematical comparison statements such as Pumpkin A is 6 centimeters taller than Pumpkin B, or science observations such as Both pumpkins contain seeds, but their shapes and sizes are different.
A Venn diagram works well here, but the real measurements make the comparison much more meaningful.
10. Finish With a Collaborative “What We Learned About Pumpkins” Poster
Instead of ending the unit with another individual worksheet, let the class create one shared display. Divide a large pumpkin or pumpkin-patch illustration into student pages. Each child colors one section and adds one fact, measurement, vocabulary word, or observation from the investigation.
One thing I observed…
One measurement we found…
One new science word…
One thing that surprised me…
One question I still have…
When the pieces are assembled, the final poster becomes both classroom art and a visual record of learning.
If you have original line art ready, the PosterCutter Collaborative Poster Maker can split it into ordered student tiles and export the printable pages without manually cropping the artwork page by page.
A 45-Minute Pumpkin Investigation Plan
Time Activity 5 min Notice, wonder, predict 10 min Estimate and measure height/circumference5 min Class sink-or-float prediction graph 8 min Sink-or-float test and discussion12 min Open pumpkin, observe parts, organize seeds5 min Record findings3 min Exit ticket: “One result that surprised me…”
Save seed counting, life cycle, descriptive writing, and the collaborative poster for centers or later lessons.
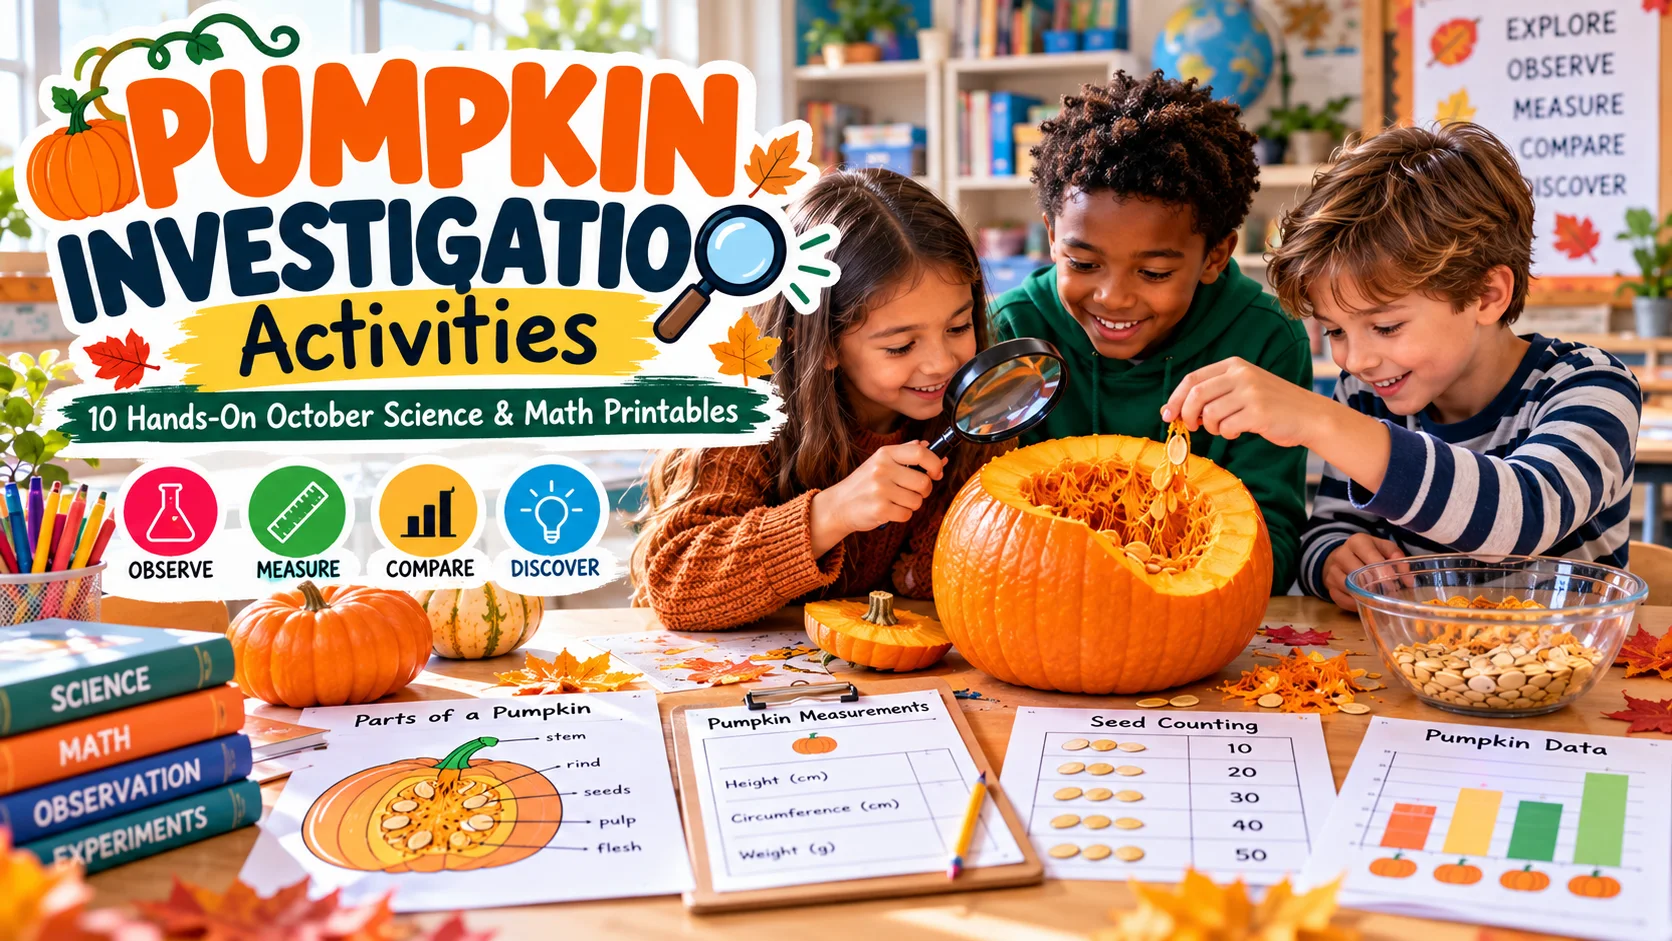
How to Turn This Into a Useful Printable Mini-Unit
If you are creating resources for your own class, keep the packet small and purposeful. A practical set might include:
Notice / Wonder / Predict page
Estimate vs. Actual recording sheet
Sink-or-Float prediction graph
Seed counting mat
Pumpkin parts diagram
Life-cycle sequencing cards
Adjective bank + descriptive writing page
Two-pumpkin comparison sheet
Investigation exit ticket
That is enough to support several lessons without giving students a thick packet they never finish.
For Teacher-Sellers: Sell the Investigation, Not Just the Pumpkin Clip Art
October marketplaces are full of pumpkin-themed pages. The stronger product idea is not “more pumpkin worksheets.” It is a resource that solves a specific classroom need.
On TPT, pumpkin investigations already appear as science resources using attributes, measurement, weight, circumference, sink-or-float, estimates, and seed counting. Teacher-authors can also study how seasonal resources are organized for different audiences on Eduki and Tes Resources.
To make your own resource more useful, focus on the workflow:
What does the teacher need to prepare?
Which activities require a real pumpkin?
Which pages can become independent centers afterward?
What grade-level adaptations are included?
Are answer keys actually necessary?
Can the teacher print only the pages they need?
A good product description should make those answers obvious.
PosterCutter's teacher-seller tools can help with the production side when relevant—such as preparing a collaborative poster version, improving suitable original artwork, or drafting editable listing copy from accurate product details. But the value still comes from the investigation design, grade fit, and clarity of the teacher directions.
Keep Pumpkin Activities Inclusive and Flexible
Not every class celebrates Halloween, and a pumpkin lesson does not need Halloween at all. Frame the activities around fall, plants, harvest, measurement, observation, and science. That makes the resource usable in more classrooms.
Also plan for students who do not want to touch pumpkin pulp or seeds. They can record measurements, tally predictions, photograph stages, organize cards, or serve as the class data recorder. Participation in the learning should not depend on enjoying a particular sensory experience.
Conclusion
A single pumpkin can support far more learning than a stack of themed worksheets.
Start with observation. Ask students to predict. Measure something real. Test a question. Count in an organized way. Look inside the plant. Then use the same experience for vocabulary, writing, comparison, and a shared classroom display.
That is what makes seasonal teaching useful: the pumpkin catches students' attention, but the science, math, language, and reasoning are what make the lesson worth keeping.
If you are creating your own pumpkin resource, build the educational sequence first. Then use PosterCutter where it genuinely saves production time—especially for puzzles, printable artwork, and collaborative poster pages.